I musta read Z1’s original thread regarding the stock exhaust modification about 10 times before I got the nerve to actually do it. My major concerns were the noise increase and the “ya can’t go back” aspect of the project, but hey with so many rave reviews its gotta be good, right?
Took the plunge this past weekend and have no regrets. IMO the noise increase is minimal and the sound is much better. For those of you who would like to hear my meager attempt to demonstrate the sound difference, check it out:
STOCK EXHAUST MODIFIED EXHAUST I have 2 bikes so decided to document the procedure with photos on the 2nd one. The mod is extremely easy so long as everything comes loose. I had some trouble with the screws; tried a screwdriver, then an impact driver, then a Craftsman Screw-out (just ate away more of the head), then finally a
Craftsman Power Bolt-out which worked like a charm (quite the handy dandy tool). In fact I went straight to the Bolt-out when I did the second bike...
Before you attempt this mod I highly recommend, err no, I INSIST, you read the thread and accounts originally posted by Z1XT225 et al- he’s the innovator and absolutely deserves the credit here. I just thought I’d do a full description with photos to make it easier for those that follow....
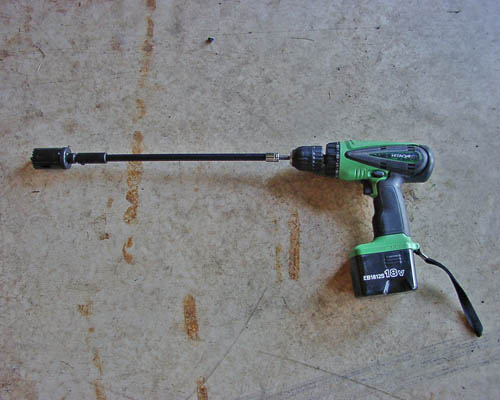
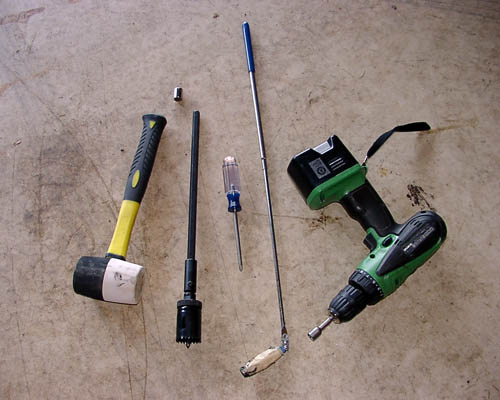
Z1XT225\'s original thread Tools required:
Drill
Philips head Screwdriver (and/or something to remove a stubborn screw - I suggest a Bolt-out, see above)
Rubber or plastic mallet
Hole saw + extension (I used a 1 ½” but anything less than 2” should do)
Extension magnet
PB Blaster, WD40 or some other penetrating catalyst
Anti seize compound
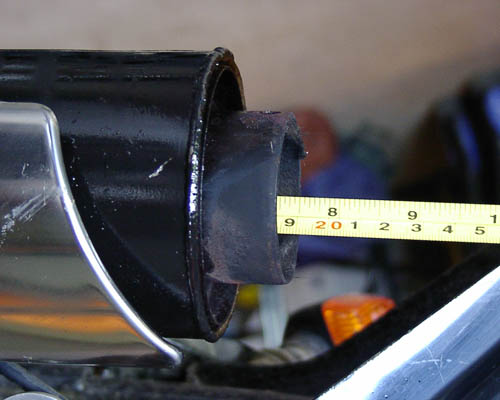
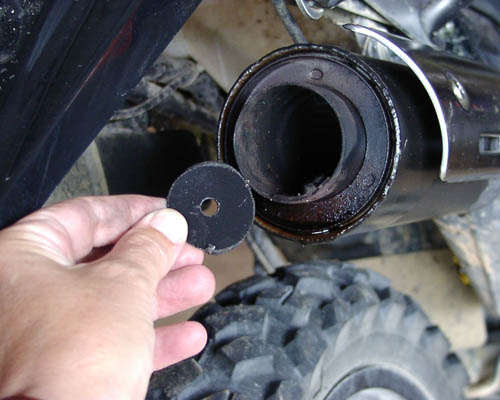
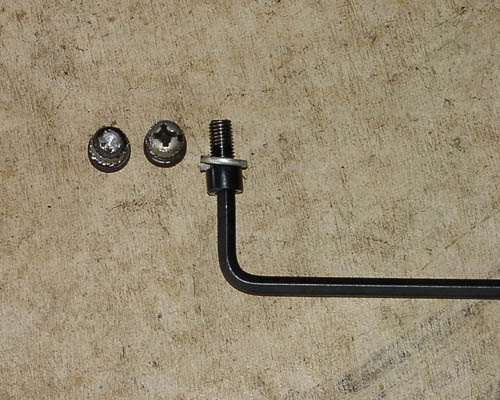
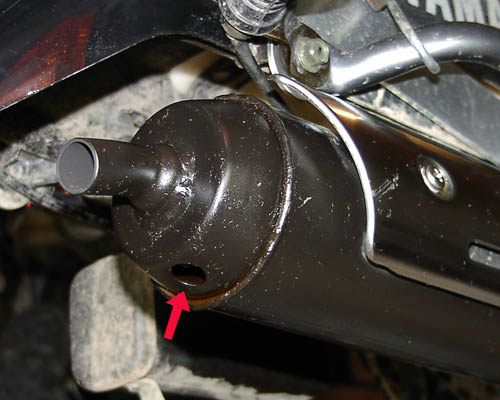
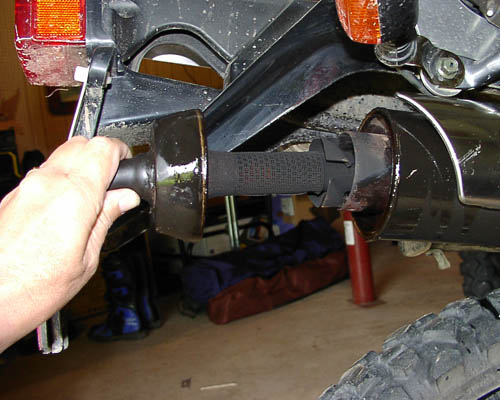
Access to the screw that holds on the endcap to the exhaust:
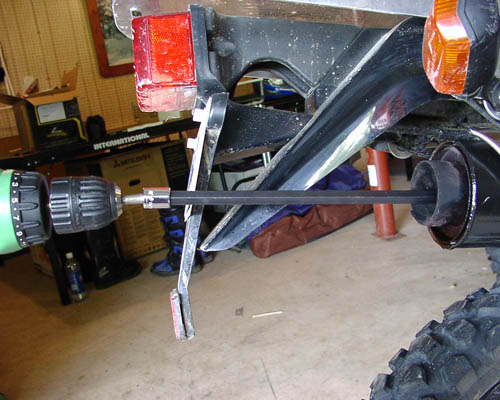
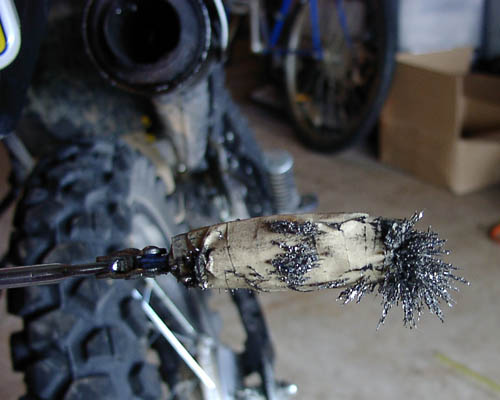
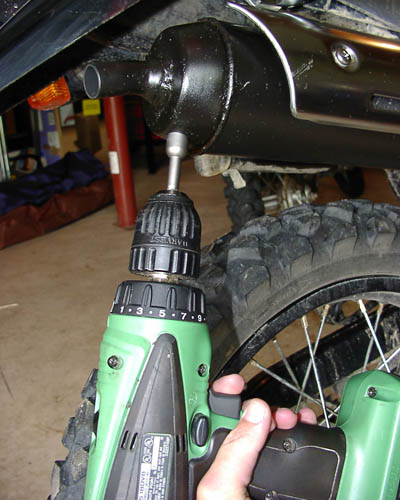
Removing the screw with a Bolt-out - drill in reverse:
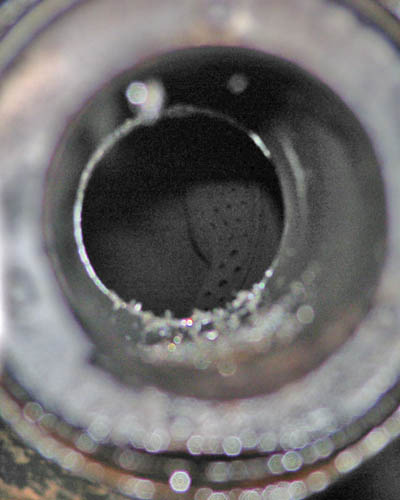
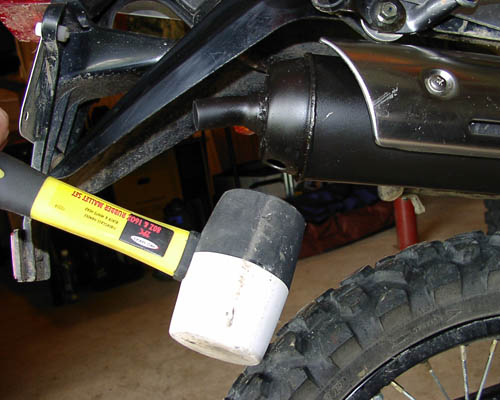
Spraying around the cap seal with PB Blaster:

A few gentle (or not so gentle) taps...
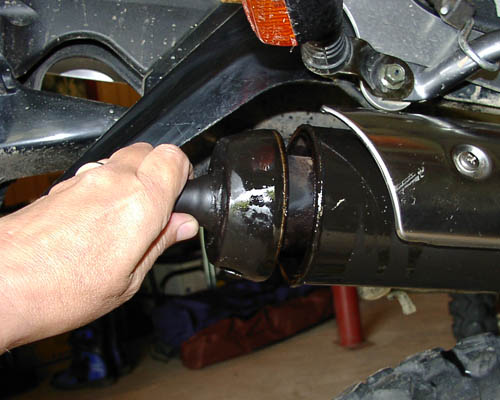
And out she comes:
continued...
[ July 06, 2006: Message edited by: crash ]
[ July 06, 2006: Message edited by: crash ]