|
|
 DIY Carb Removal & Jet Change w/Air Filter Change
#33365
06/01/08 05:48 AM DIY Carb Removal & Jet Change w/Air Filter Change
#33365
06/01/08 05:48 AM
|
Joined: Jun 2005
Posts: 4,684
Moto Psycho
 OP
OP
Platinum Member
|
|
OP
Platinum Member
Joined: Jun 2005
Posts: 4,684 |
Well I finally took the plunge and decided to take on the task of changing the main and pilot jets. I had read all the post here and on other sites about the topic, over and over again. I bought the new jets almost a year ago, but since I had never worked on a carb (aside from the 3 turns out on the pilot screw) I was a little leary on doing it myself, and always tend to second guess myself, but I finally built up enough confidence and decided now was the time.... 
|
|
|
|
Re: DIY Carb Removal & Jet Change
[Re: Moto Psycho]
#33366
06/01/08 06:18 AM
|
Joined: Jun 2005
Posts: 4,684
Moto Psycho
OP
Platinum Member
|
|
OP
Platinum Member
Joined: Jun 2005
Posts: 4,684 |
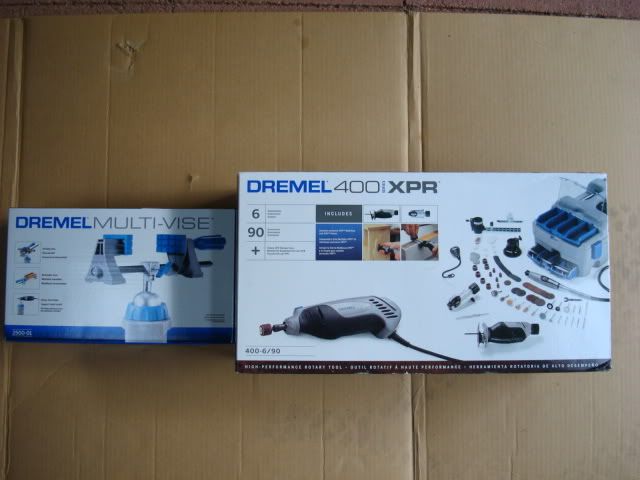
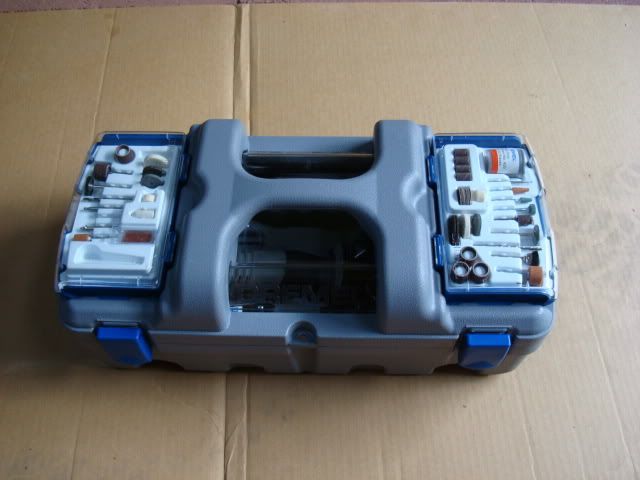
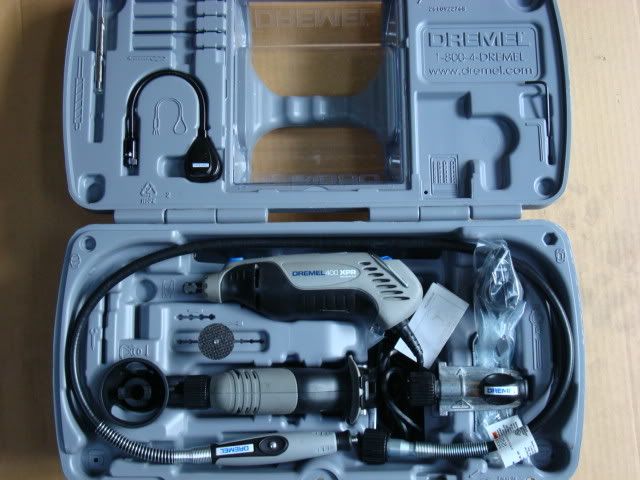
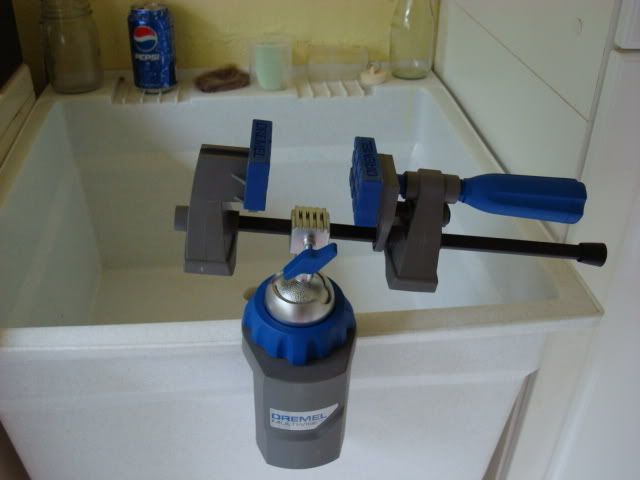
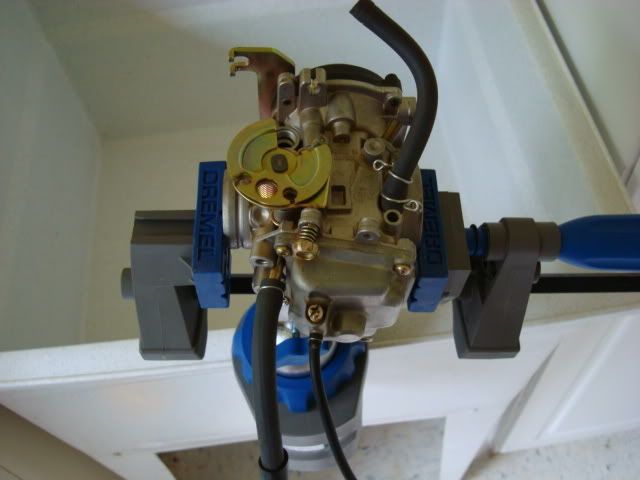
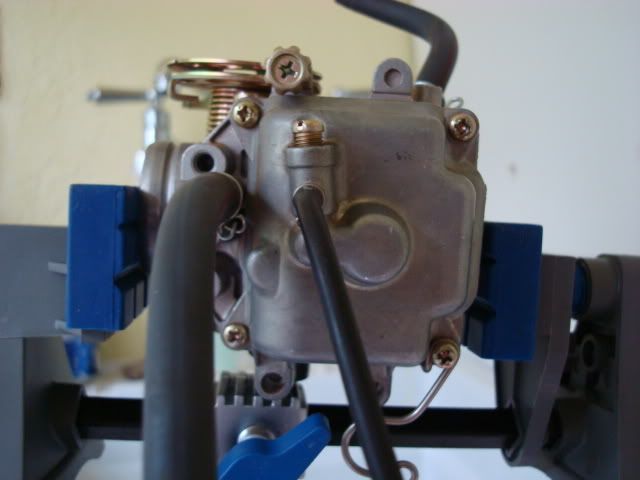
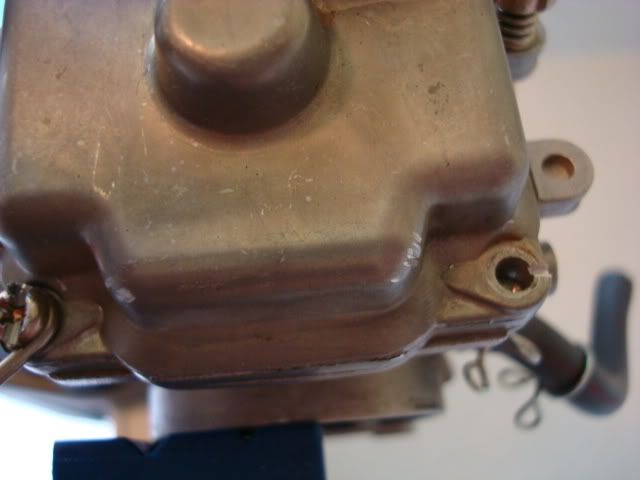
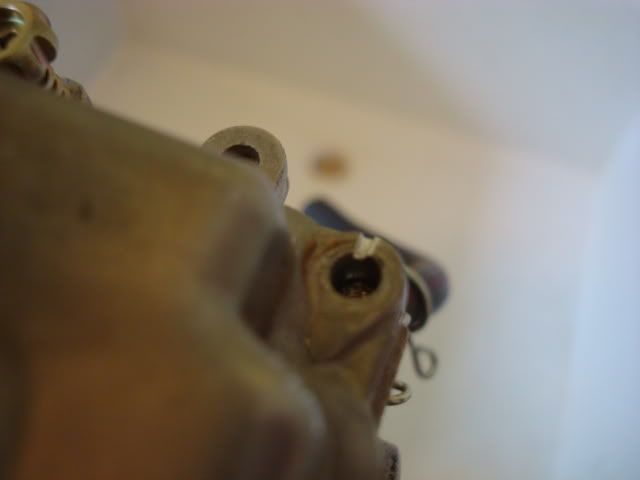
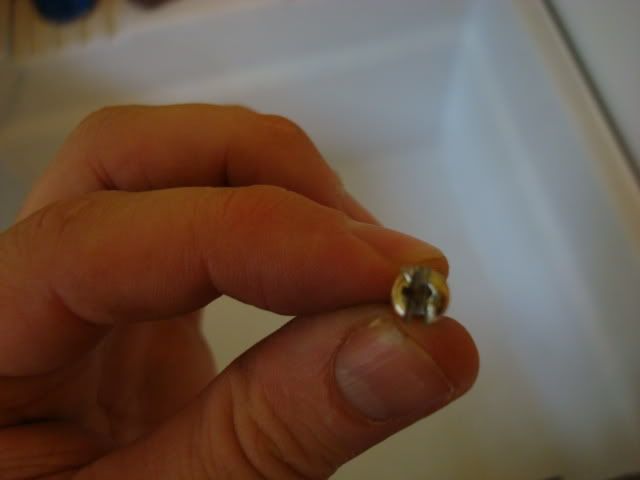
The first thing I did was to get everything prepared and ready to go. I moved the toolchest out.. 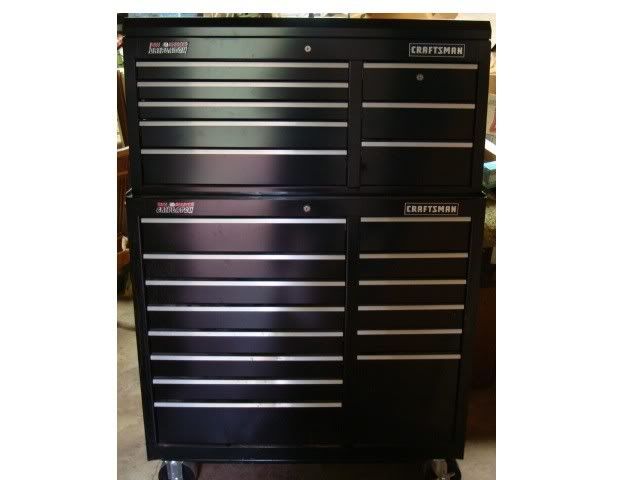 I had cut up a cardboard box, laid it out and rolled my XT onto it. My baby before her surgery.. 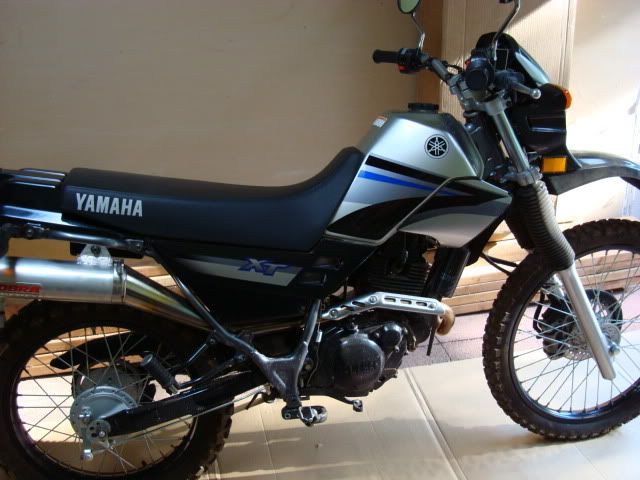 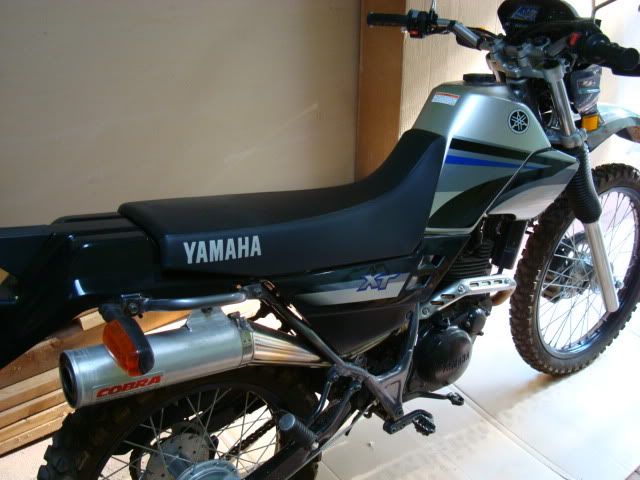 First thing to do is take off the side plastics, seat, tank scoops and tank. Remember to remove all the lines from the tank to the carb (and charcoal cannister if Cali model). After removing all this.. 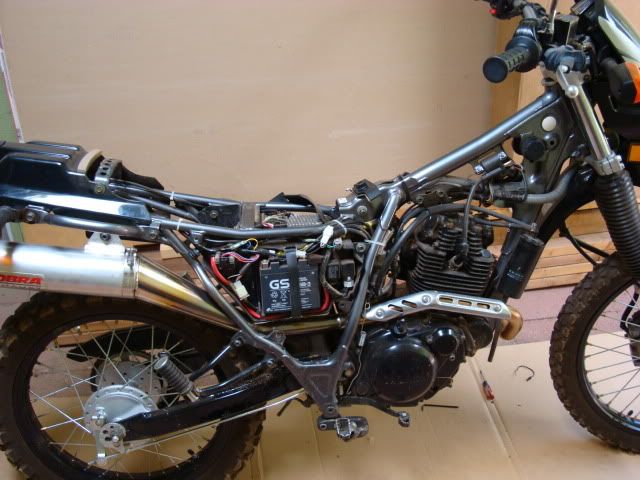 Next loosen the carb joint clamps. Then go to the right side of the bike and rotate the carb to the left, this will expose the four float bowl screws (which are JIS (Japanese Industrial Standard) screws). 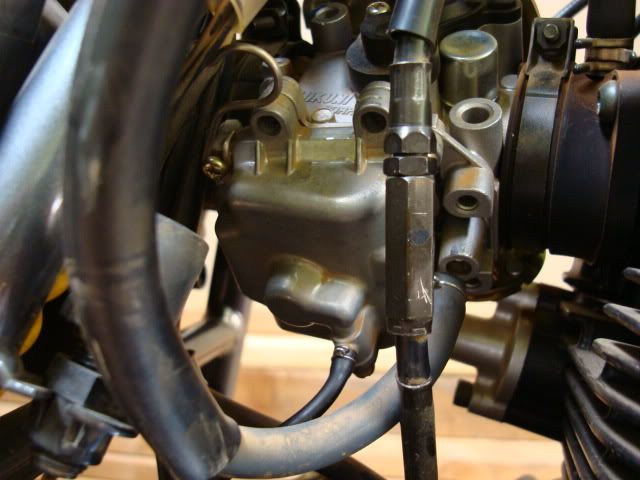 If you do strip, will more than likely have to take the carb off the bike, as I had to do. I found out the best way to remove the carb is to remove the screws holding the airbox on. I found this out after trying to put the carb back in (Thanks Road Rash for the tip), and thought if I had done it before removing the carb, it would have been alot easier. Also, I labeled all lines and hoses that needed to be removed from the carb (plus taking pics as I went along help). The carb removed.. 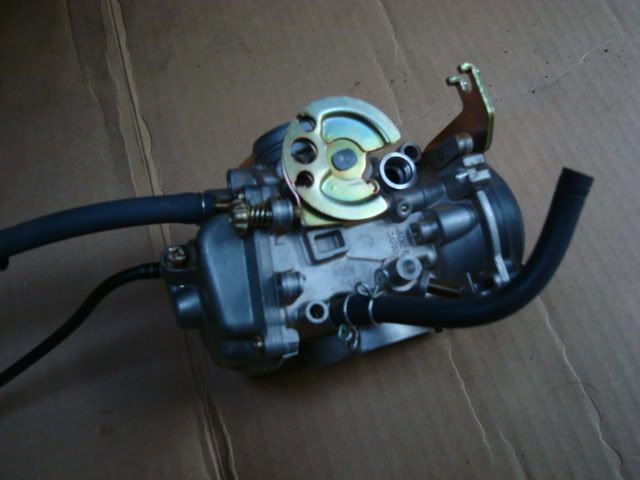 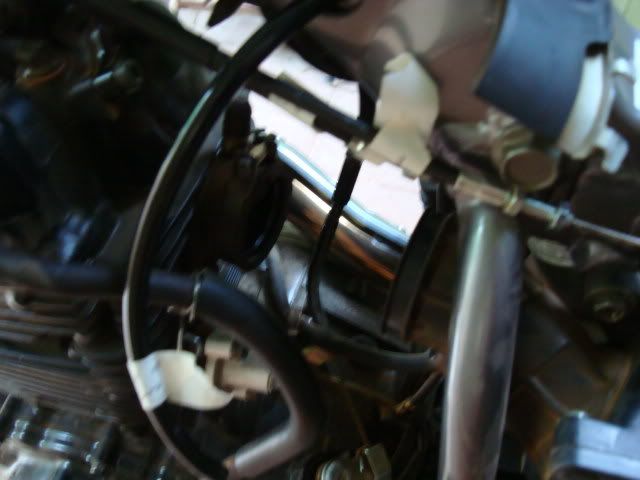 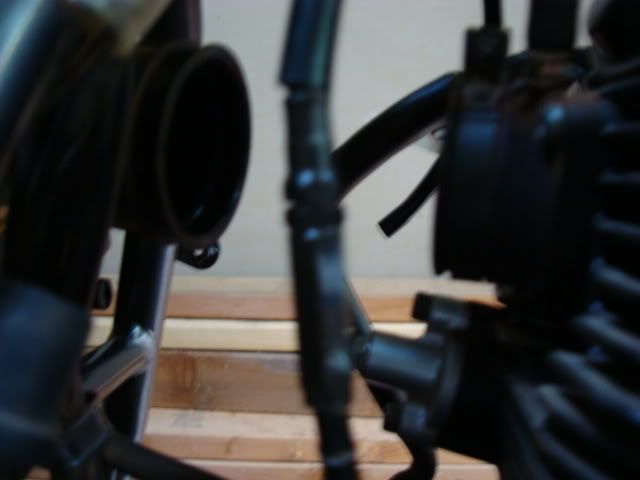 Now with the carb out, you can see the stripped screws.. 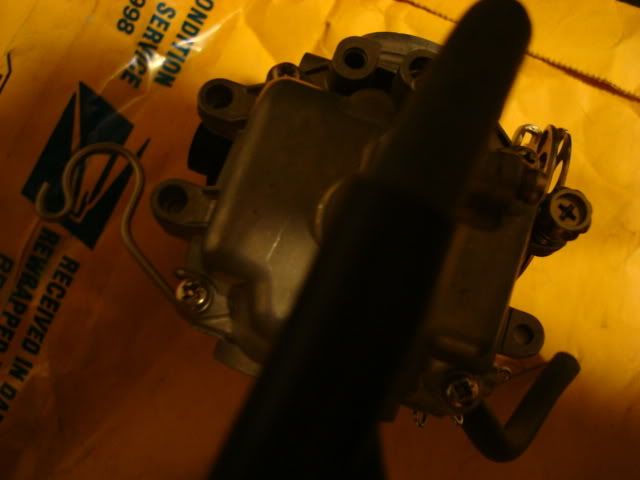 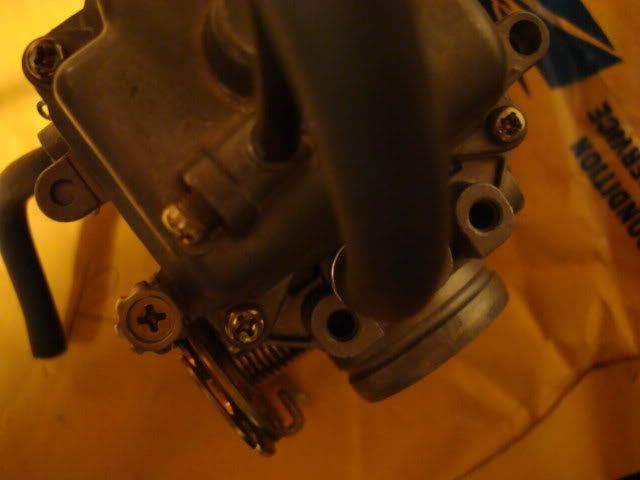 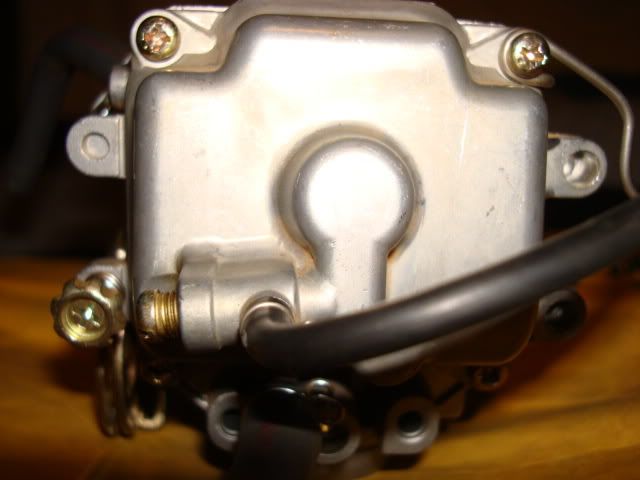 With the screws stripped, I got looked for help on removal from our great site here. With the suggestion from Chartman, I ordered a Dremel tool for the removal task....
|
|
|
|
Re: DIY Carb Removal & Jet Change
[Re: Moto Psycho]
#33367
06/01/08 06:25 AM
|
Joined: Jun 2005
Posts: 4,684
Moto Psycho
OP
Platinum Member
|
|
OP
Platinum Member
Joined: Jun 2005
Posts: 4,684 |
|
|
|
|
Re: DIY Carb Removal & Jet Change
[Re: Moto Psycho]
#33369
06/01/08 06:40 AM
|
Joined: Jun 2005
Posts: 4,684
Moto Psycho
OP
Platinum Member
|
|
OP
Platinum Member
Joined: Jun 2005
Posts: 4,684 |
|
|
|
|
Re: DIY Carb Removal & Jet Change
[Re: Moto Psycho]
#33370
06/01/08 06:54 AM
|
Joined: Jun 2005
Posts: 4,684
Moto Psycho
OP
Platinum Member
|
|
OP
Platinum Member
Joined: Jun 2005
Posts: 4,684 |
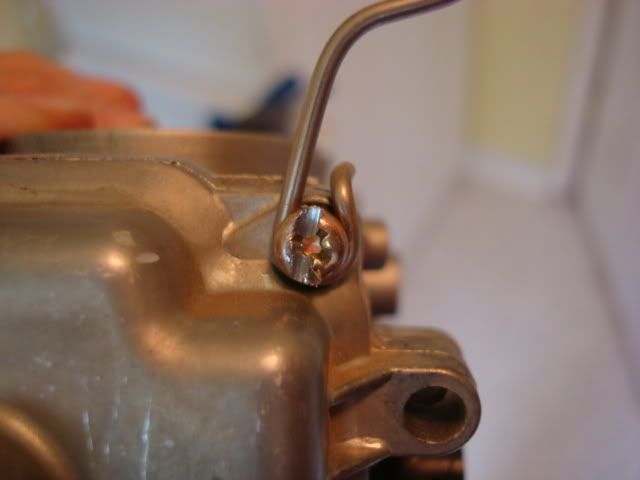
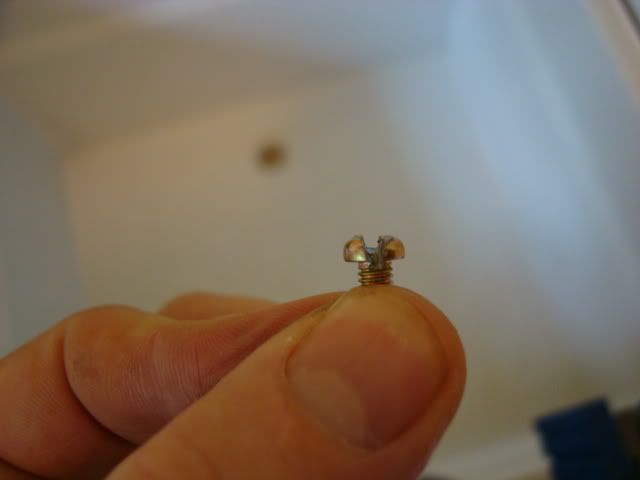
Now with the screws all cut, I take the vise into the house and attach it to my desk, put the carb in the vise and start on the jet removal. Carb with the float bowl off.. 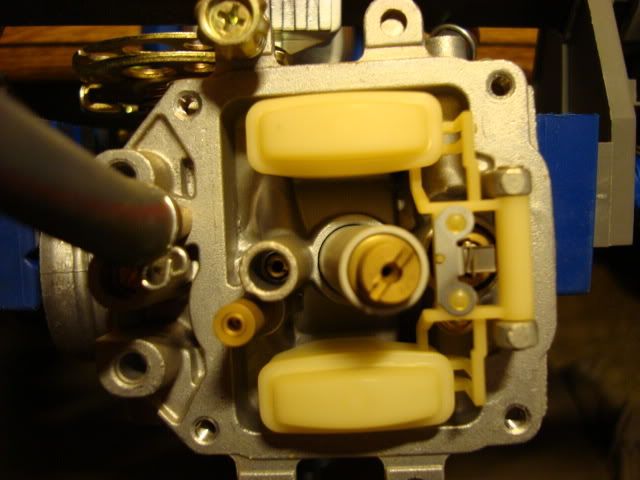 Nick that I cut into the screw hole.. 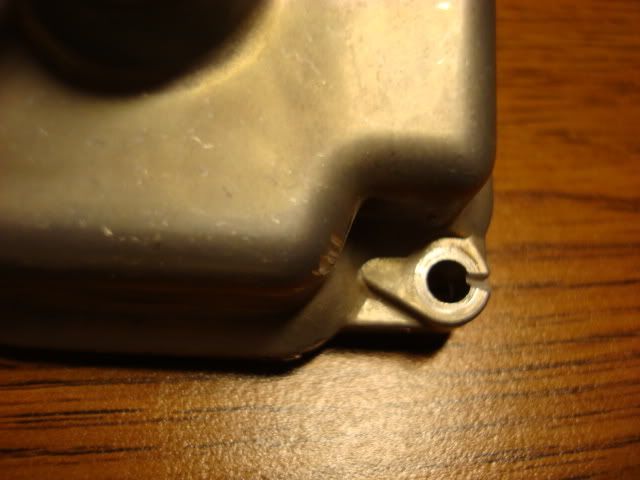  Original screws.. 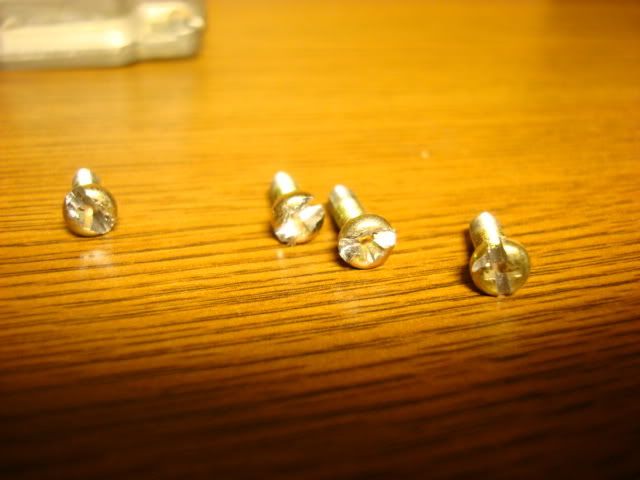 New screws (SS allen head).. 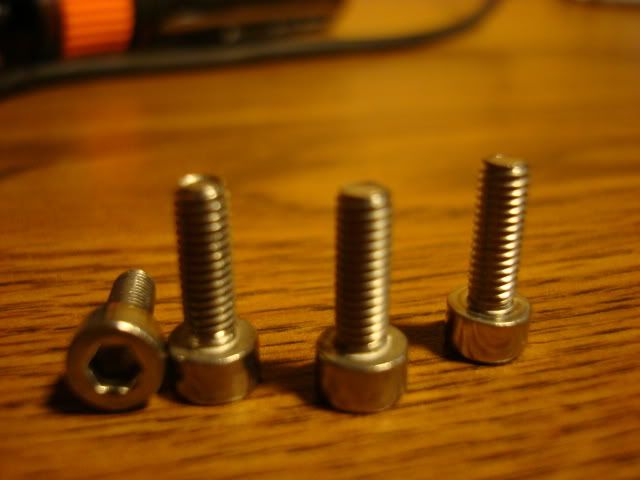 Stock jets out(125 main & 40 pilot).. 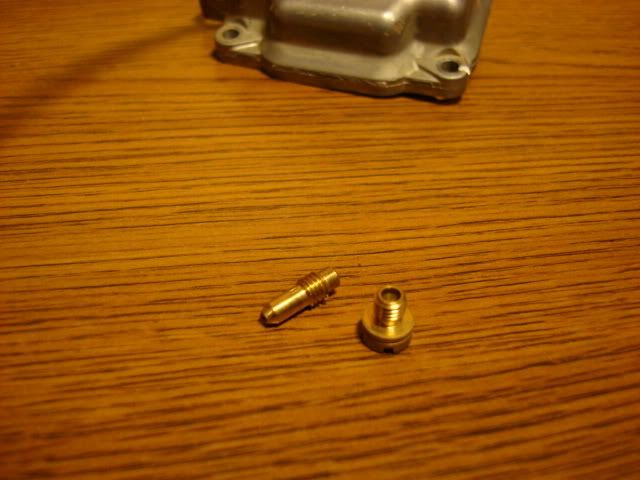 New jets in (130 main & 42.5 pilot)..  Carb back together with new allen head screws..  I forgot the guide for the CA cannister hose so I put that back on.. 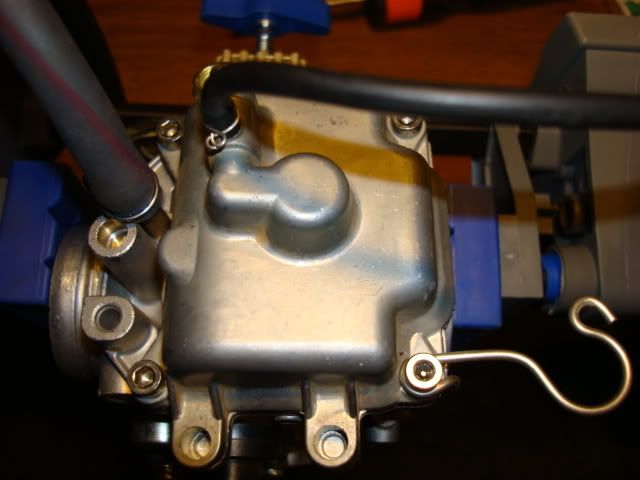 ....
|
|
|
|
Re: DIY Carb Removal & Jet Change
[Re: Moto Psycho]
#33371
06/01/08 07:17 AM
|
Joined: Jun 2005
Posts: 4,684
Moto Psycho
OP
Platinum Member
|
|
OP
Platinum Member
Joined: Jun 2005
Posts: 4,684 |
With the carb ready to go, it's time to reinstall (remember to connect the choke plunger to the carb while it is still off of the bike, as you can't get a wrench in to tighten it once the carb is on the bike). After awhile of struggling with getting it in, I get back on our great site to find out the easiest way to get the carb in without using brute force and risk breaking that plastic piece on the side that isn't replaceable. Road Rash gives me the tip to loosen the airbox and move it back (Thanks Road Rash). Remove this screw at left side of bike on airbox.. 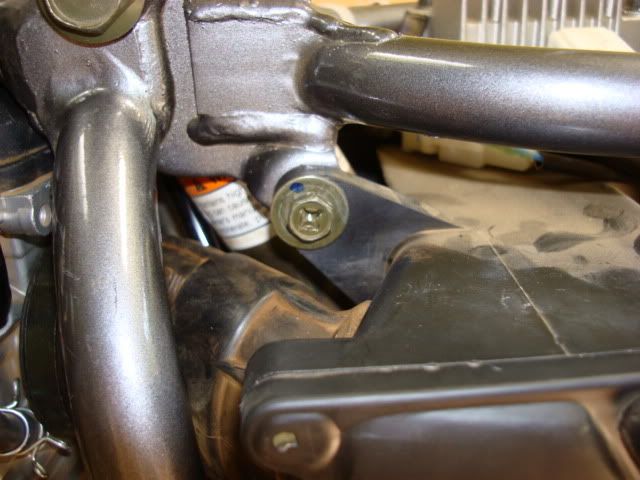 Then remove these screws inside of rear wheel.. 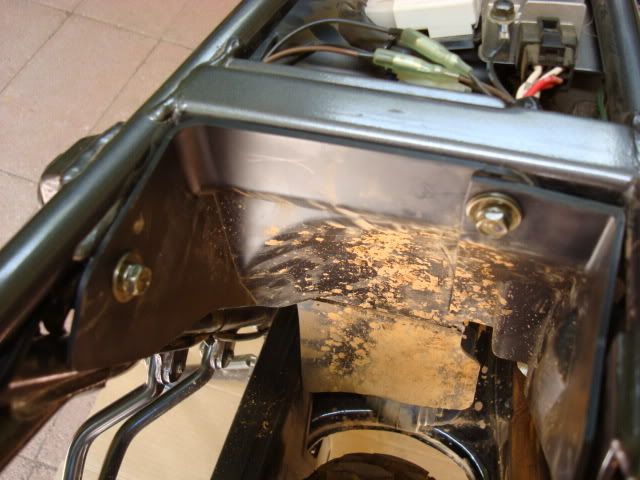 With these removed, I was able to move the airbox back and I stuffed an old shirt between the frame and airbox to hold it into place. You can see to the left of the airbox where I put tape on the frame, 'cause before I moved the airbox it was a tight fit and I was getting some scratches in the paint (don't need to do this with the airbox moved) 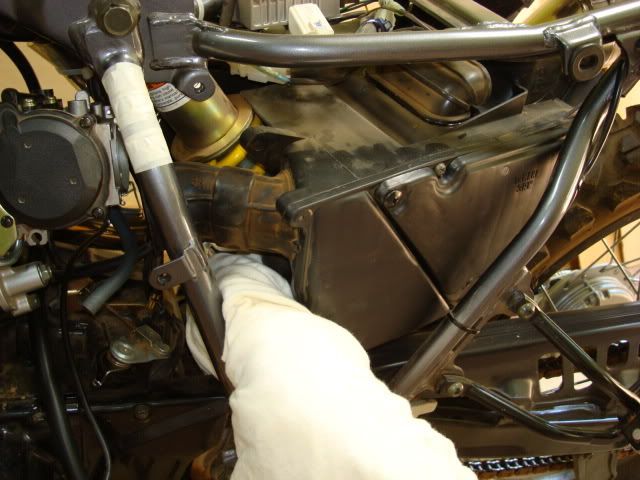 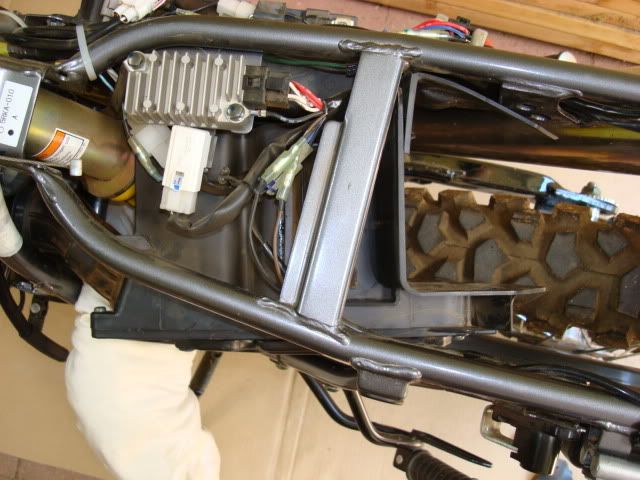 This allowed me to pop the carb right in.. 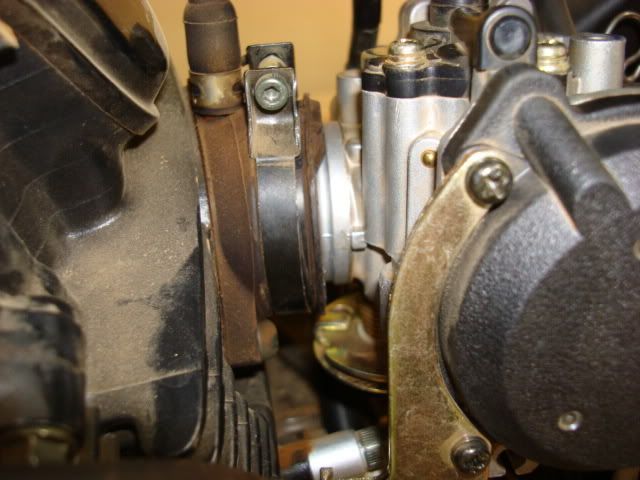 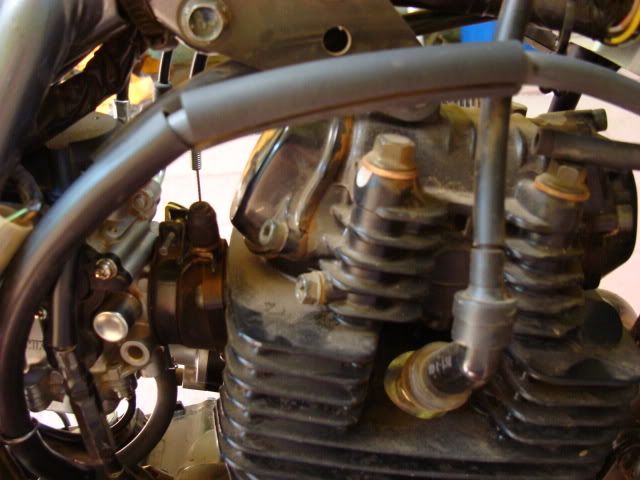 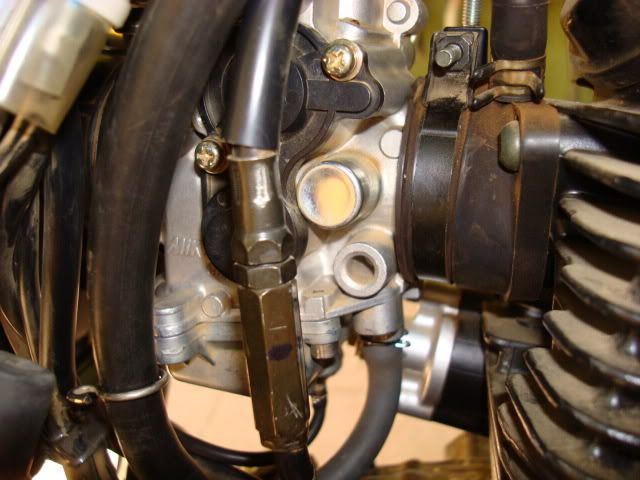 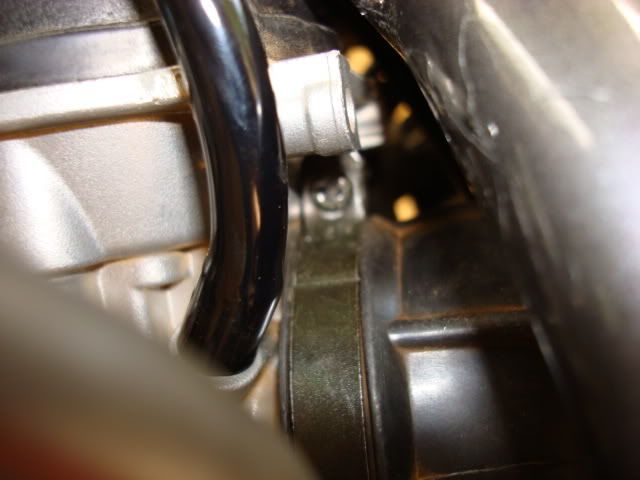 Then I connected the throttle cables and attached all the hoses.. 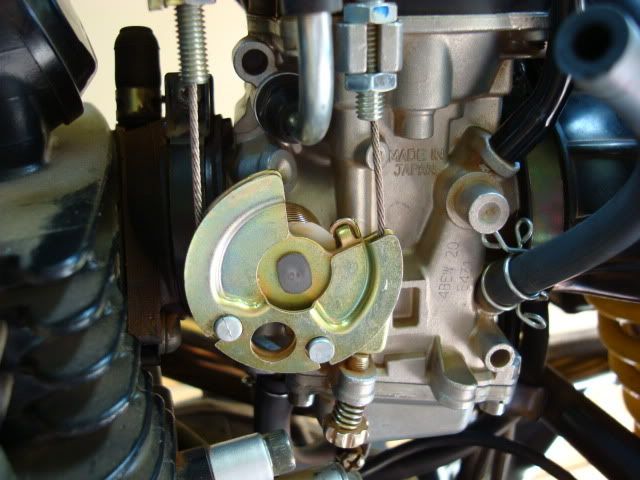 Now carb is done....
|
|
|
|
Re: DIY Carb Removal & Jet Change
[Re: Moto Psycho]
#33372
06/01/08 07:32 AM
|
Joined: Jun 2005
Posts: 4,684
Moto Psycho
OP
Platinum Member
|
|
OP
Platinum Member
Joined: Jun 2005
Posts: 4,684 |
Since I had the bike apart, I decided to also install my new Uni filter. For the filter change, you start off by removing the 3 screws in the corners of the airbox. 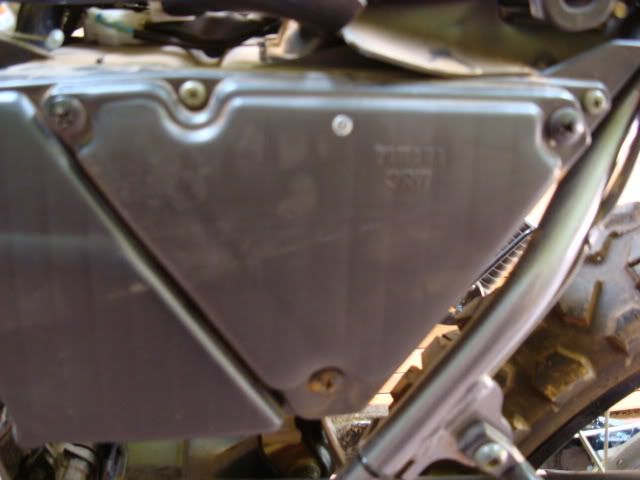 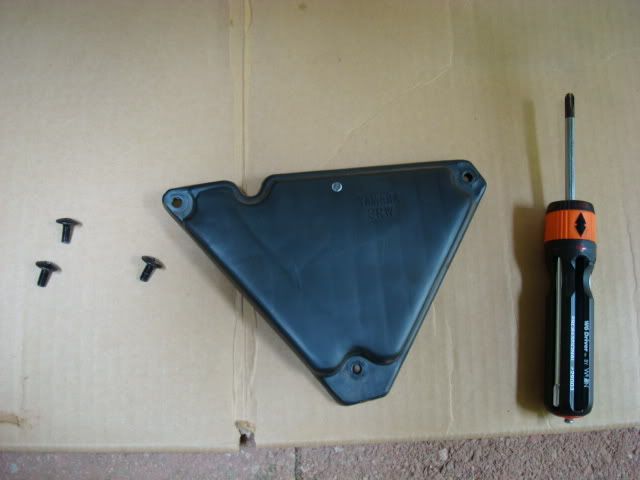 Inside the airbox.. 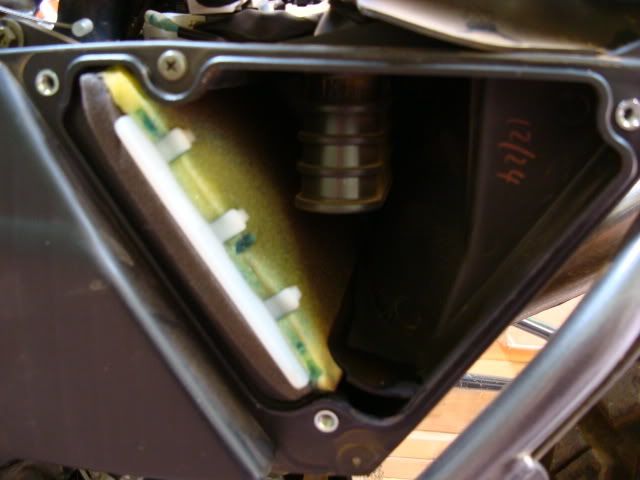 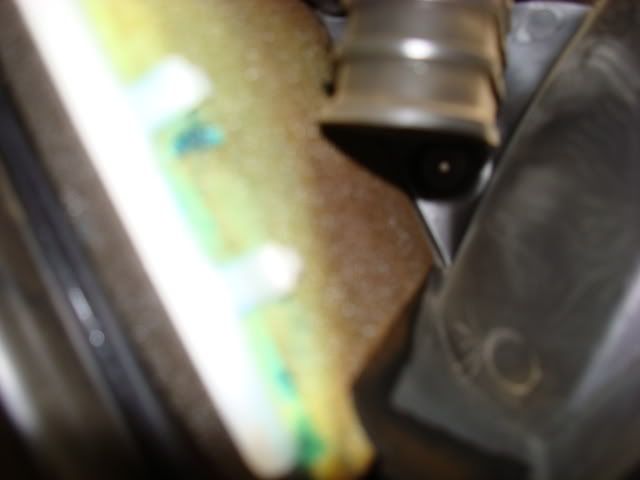 Original filter removed.. 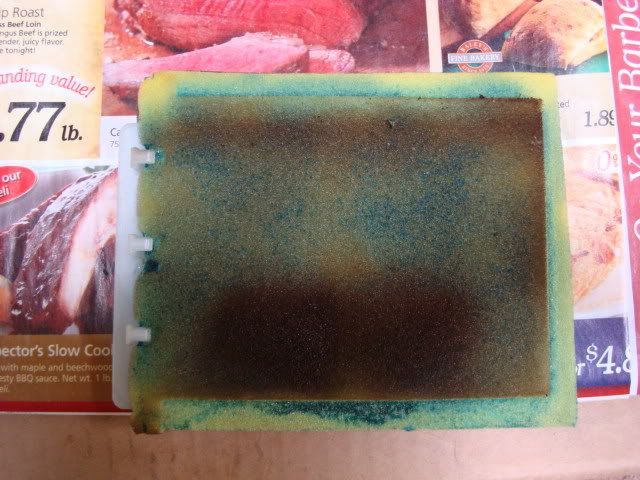 Inside airbox with filter removed.. 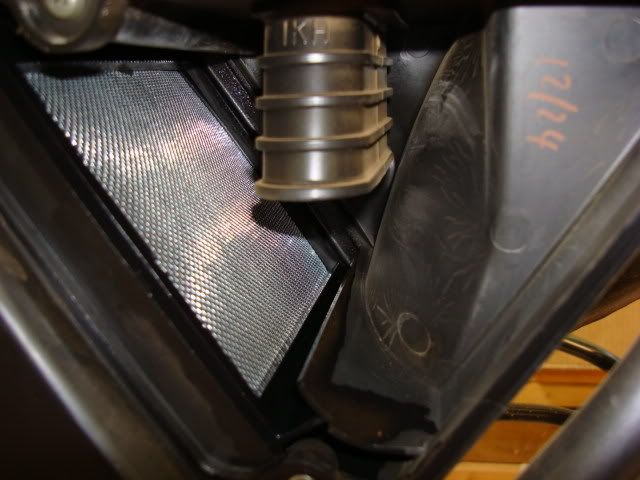 I could not figure out how to remove the screen, so I just left it alone. The airbox check tube.. 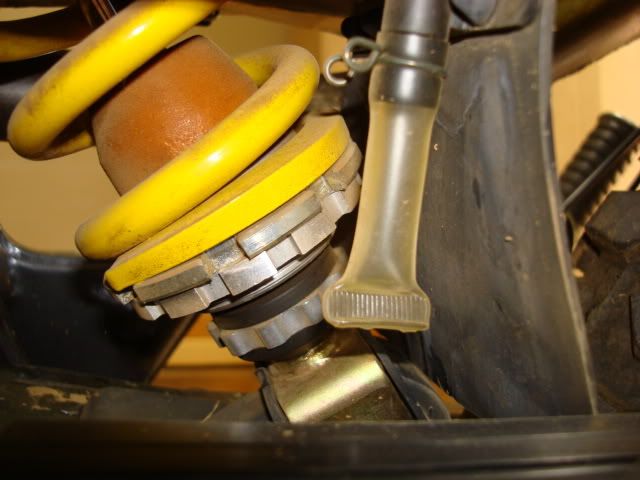 ....
|
|
|
|
Re: DIY Carb Removal & Jet Change
[Re: Moto Psycho]
#33373
06/01/08 07:43 AM
|
Joined: Jun 2005
Posts: 4,684
Moto Psycho
OP
Platinum Member
|
|
OP
Platinum Member
Joined: Jun 2005
Posts: 4,684 |
Next I got everything set up. Uni filter (NU-3237ST), No Toil filter oil, bucket for oiling and gloves.. 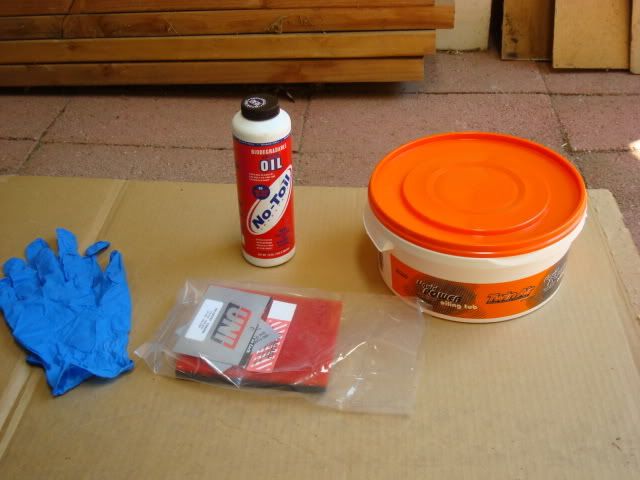 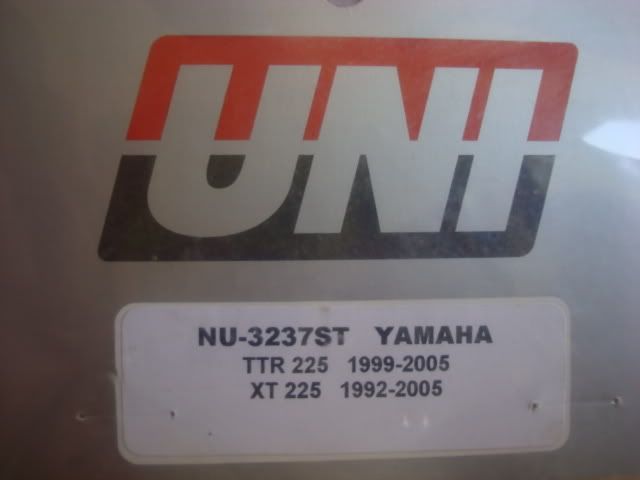 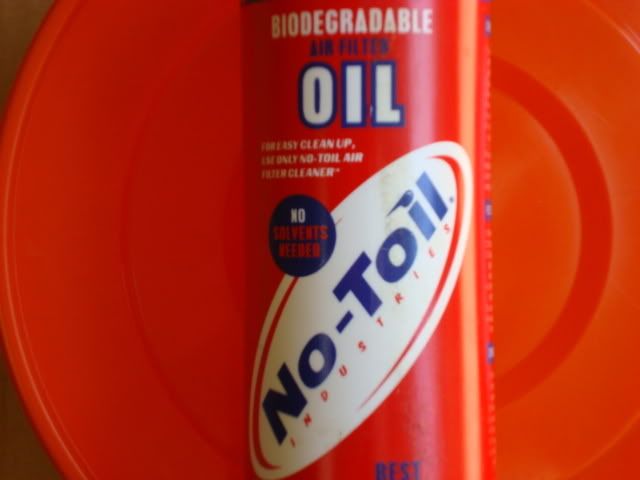 Filter in the bucket soaking up filter oil.. 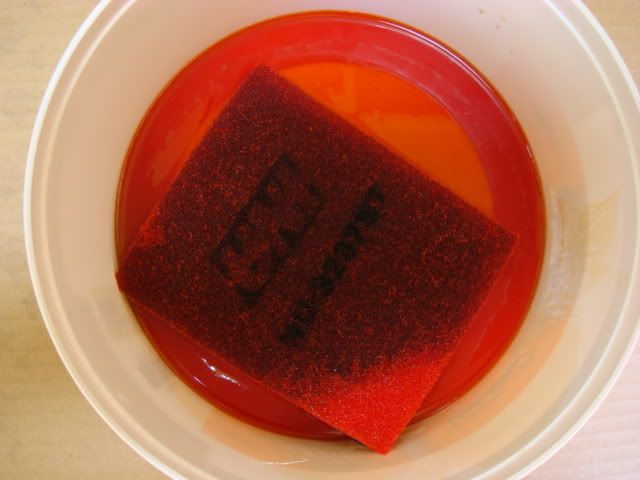 Squeezing out oil (remember to just squeeze out the oil and Do Not wring it out like a washcloth).. 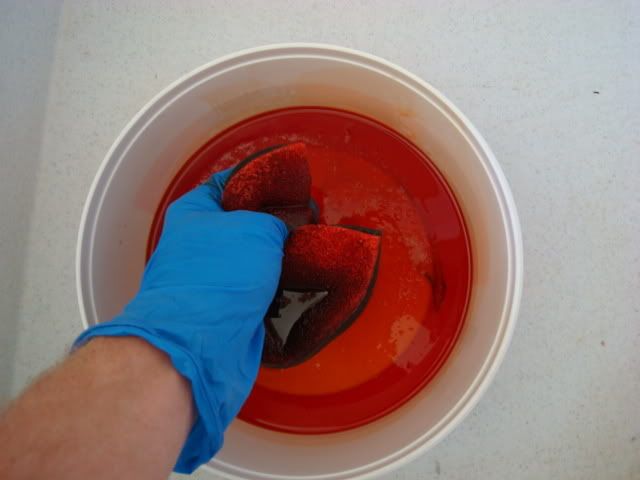 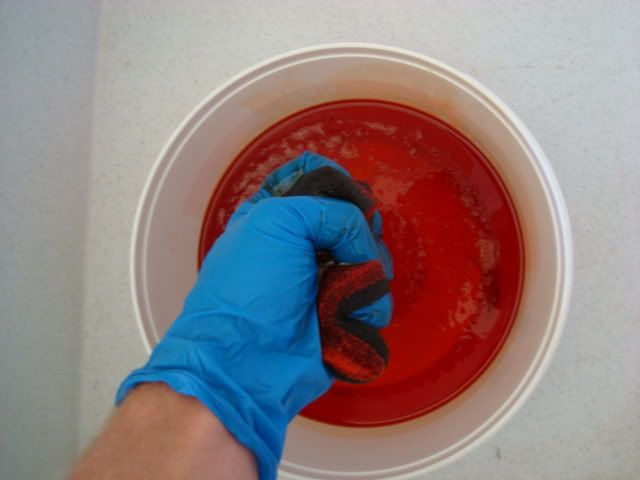 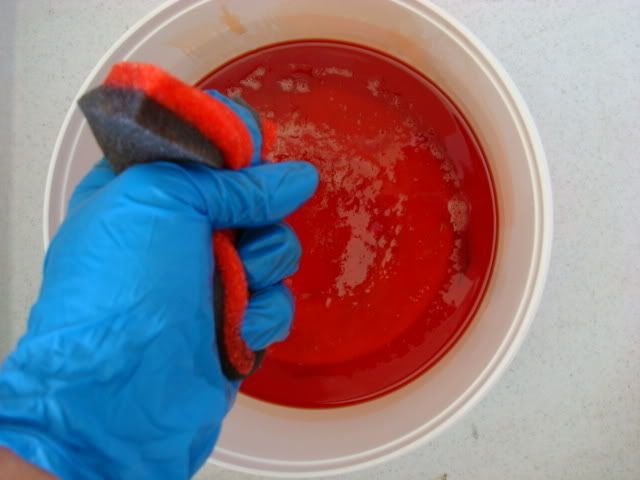 Filter on the frame and put into the airbox.. 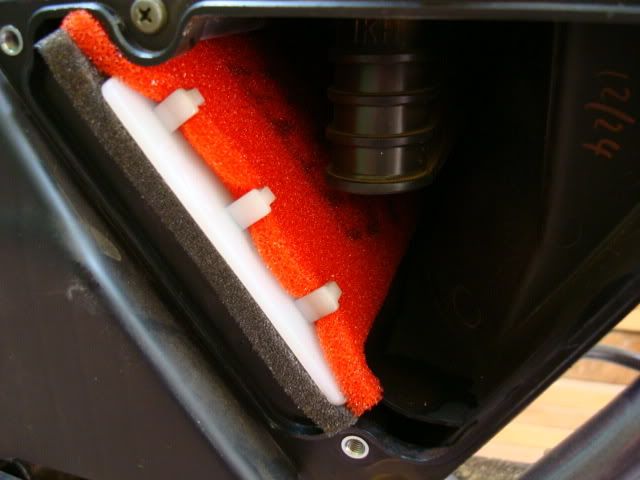 I put some No Toil airfilter rim grease in the groove of the airbox cover to help keep out debris.. 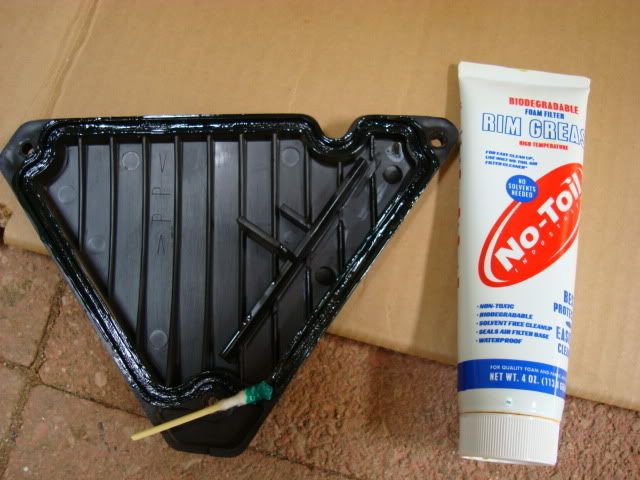 Now just attach cover and tighten cover screws....
|
|
|
|
Re: DIY Carb Removal & Jet Change
[Re: Moto Psycho]
#33376
06/01/08 07:51 AM
|
Joined: Jun 2005
Posts: 4,684
Moto Psycho
OP
Platinum Member
|
|
OP
Platinum Member
Joined: Jun 2005
Posts: 4,684 |
I also installed my newly altered Turbocity Borrego rack. I wanted a little more rack, so I had an extended hoop added at the back of the rack, that extended a little past the taillight. A teaser pic.. 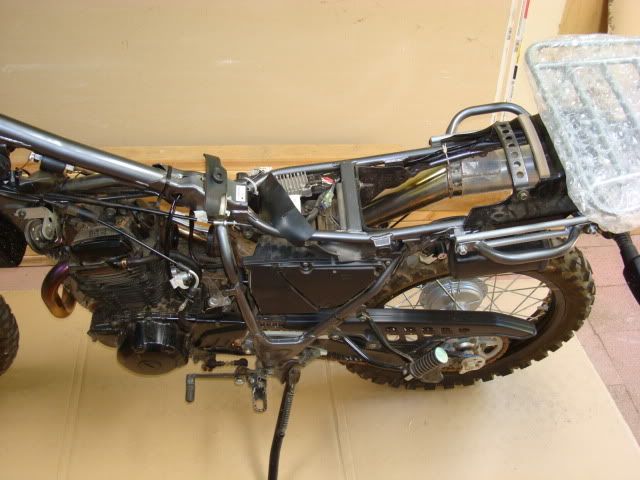 With the bubble wrap off.. 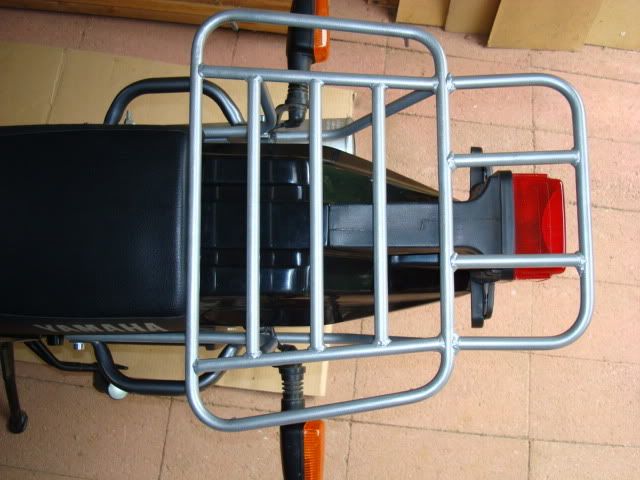 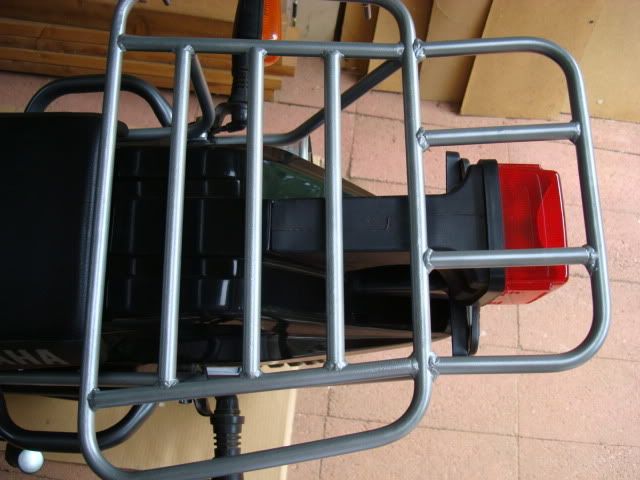 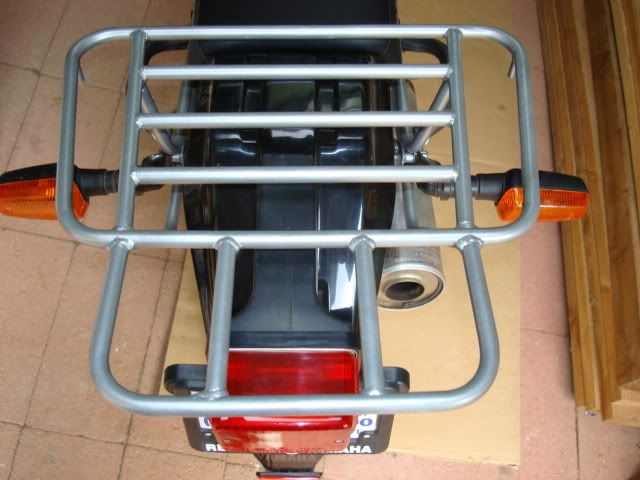
|
|
|
|
Re: DIY Carb Removal & Jet Change
[Re: Moto Psycho]
#33377
06/01/08 08:01 AM
|
Joined: Jun 2005
Posts: 4,684
Moto Psycho
OP
Platinum Member
|
|
OP
Platinum Member
Joined: Jun 2005
Posts: 4,684 |
Once I had all these projects done, I buttoned her all up and put her back together. With the surgery all done, I got the key and put it in the ignition. Then, turned the petcock on. I waited a few minutes and looked the bike all over for any leaks (none). I turned the key on, pulled the choke out and BAM, she fired right up. I even revved it up right off the bat without it stumbling and stalling. After all of that, I had to go grab my helmet and take it for a spin (sorry, no pics of that). There was no stumbling or backfiring pops, and the throttle response was great. If I had realized that the carb remmoval and jet swap was as easy as it was, I would have done this about a year ago when I bought all the stuff to do it. Best of all, mechanics confidence was built up, and now I might not be so hasty to tackle another job (depending on what it is, I might be a little leary about doing the valve adjustment)....
|
|
|
|
|
Board Upgrade:
Board upgrade to V7.7.3 has been completed on Monday Feb 3rd 2020. Ride safely.
Enjoy the new software!
|
|
|
1 registered members (Mountain_Sundae),
29
guests, and 0
spiders. |
|
Key:
Admin,
Global Mod,
Mod
|
|
|
Forums38
Topics16,835
Posts151,327
Members6,012
| |
Most Online279
Dec 6th, 2019
|
|
|
S |
M |
T |
W |
T |
F |
S |
|
|
1
|
2
|
3
|
4
|
5
|
6
|
|
7
|
8
|
9
|
10
|
11
|
12
|
13
|
|
14
|
15
|
16
|
17
|
18
|
19
|
20
|
|
21
|
22
|
23
|
24
|
25
|
26
|
27
|
|
28
|
29
|
30
|
|
|
|
|
|
|